Nestjs 튜토리얼 따라하기 9편
15 Aug 2021 | BackendNestjs 튜토리얼 따라하기 9편
Interceptors

-
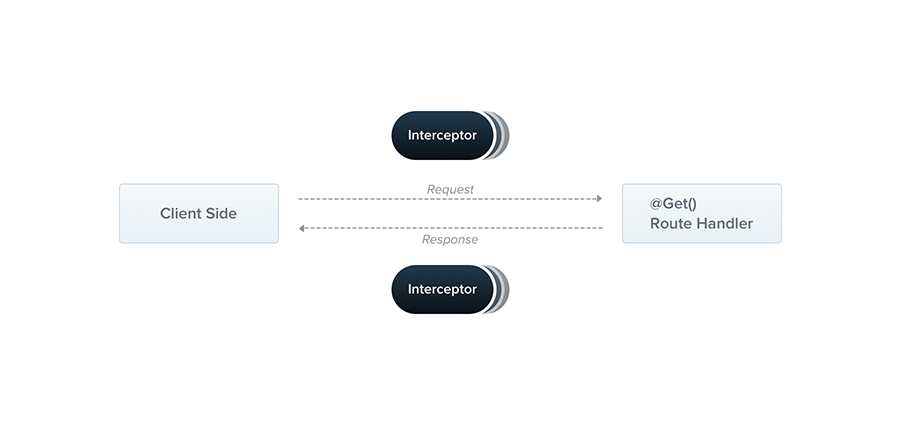
Interceptors는 @Injectable() 데코레이터를 사용하는 클래스이며
NestInterceptor인터페이스를 구현하여 정의 된다. -
Interceptors를 통하여 아래와 같은것을 실행할 수 있다.
- method의 전후에 추가 로직 구현
- 함수의 반환값을 변환하여 결과로 낼 수 있음
Aspect interception
아래는 간단한 LoggingInterceptor 예제이다.
import { Injectable, NestInterceptor, ExecutionContext, CallHandler } from '@nestjs/common';
import { Observable } from 'rxjs';
import { tap } from 'rxjs/operators';

@Injectable()
export class LoggingInterceptor implements NestInterceptor {
  intercept(context: ExecutionContext, next: CallHandler): Observable<any> {
    console.log('Before...');

    const now = Date.now();
    return next
      .handle()
      .pipe(
        tap(() => console.log(`After... ${Date.now() - now}ms`)),
      );
  }
}
Binding interceptors
Interceptor를 적용하기 위하여 @UseInterceptors() 데코레이터를 사용할 것이다. Interceptor도 controller에 적용할 수 있고 혹은 전역으로 적용할 수 있다.
@UseInterceptors(LoggingInterceptor)
export class CatsController {}
전역으로 적용하려면 아래와 같이 구성한다.
const app = await NestFactory.create(AppModule);
app.useGlobalInterceptors(new LoggingInterceptor());
import { Module } from '@nestjs/common';
import { APP_INTERCEPTOR } from '@nestjs/core';

@Module({
  providers: [
    {
      provide: APP_INTERCEPTOR,
      useClass: LoggingInterceptor,
    },
  ],
})
export class AppModule {}